Introduction to Home Recording on a Shoestring Budget
Recording music at home no longer requires a significant financial investment. With the availability of affordable gear and free software, anyone interested in capturing song ideas or creating demos can assemble a functional setup without stretching a budget. The key is to focus on the essential components that directly affect recording quality while avoiding unnecessary extras. This article outlines a practical approach to selecting entry-level equipment and free tools, keeping the process straightforward and accessible.
When building a home recording system on a limited budget, the three primary elements to consider are the microphone, the audio interface, and the recording software. Each of these plays a distinct role in the signal chain, and making informed choices can help avoid common pitfalls. The following sections explore specific considerations for each component, along with a few tips for setting up a basic recording space. The goal is not to promise professional results, but to provide a framework for capturing usable demos in a home environment.
Understanding Microphone Options and Budget Choices
Microphones come in various types, but for home recording on a tight budget, two categories are most relevant: dynamic and condenser microphones. Dynamic microphones are generally more rugged and less sensitive to background noise, which can be advantageous in untreated rooms. Many affordable dynamic models, such as those commonly used for live vocals or instrument miking, can produce clear recordings when positioned correctly. Condenser microphones, on the other hand, tend to capture more detail and a wider frequency range, but they often require phantom power and are more sensitive to room acoustics.
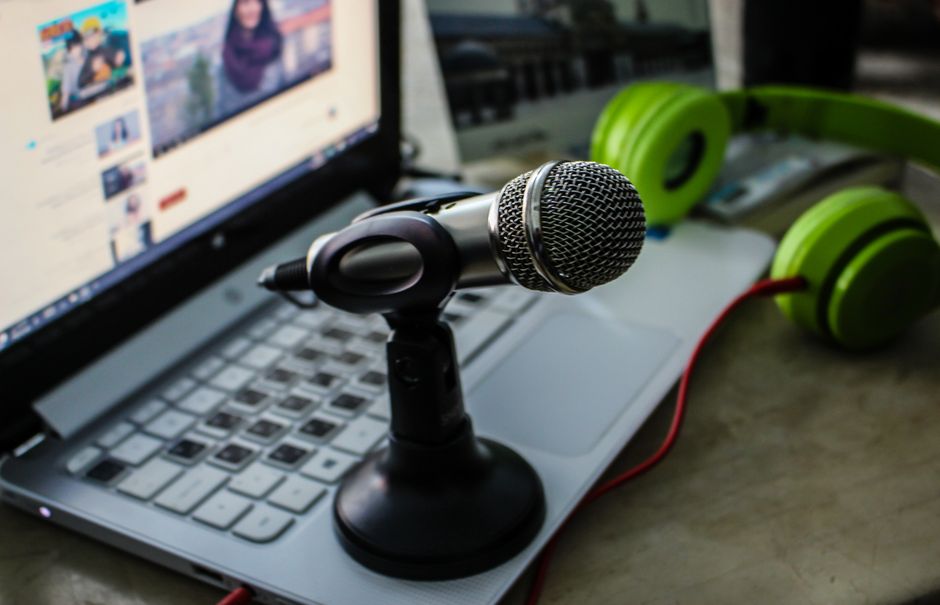
Another important distinction is between USB and XLR microphones. USB microphones include a built-in preamp and analog-to-digital converter, allowing direct connection to a computer without an audio interface. This can be a cost-effective way to start recording, but it limits flexibility for future expansion. XLR microphones require an audio interface, yet they offer greater control over signal path and the possibility to record multiple sources simultaneously. For someone planning to record only one voice or instrument at a time, a USB microphone may be a practical starting point. For those who anticipate adding more microphones or instruments later, investing in an XLR microphone and a basic interface could be a more adaptable choice.
Price is not always an indicator of quality in the entry-level market. Several brands offer microphones under one hundred dollars that are capable of capturing acceptable demo recordings. Reading user reviews and listening to sample recordings can provide a better sense of what a particular model can deliver in a home environment. It is also worth considering used or refurbished gear, as many microphones are durable and can function well for years with proper care.
Selecting a Budget Audio Interface
An audio interface converts the analog signal from a microphone or instrument into a digital stream that a computer can process. For home recording on a shoestring budget, the main factors to evaluate are the number of inputs, preamp quality, and connectivity options. Most entry-level interfaces offer one or two inputs, which is sufficient for solo recording or simple duo setups. Models with a single combination input (XLR and ¼-inch) can handle both a microphone and a line-level instrument, though only one at a time unless multiple inputs are present.
Preamps in lower-cost interfaces have improved significantly over recent years. Even budget models can provide clean gain with minimal noise, especially when compared to the built-in sound cards of typical computers. It is helpful to look for interfaces that include a gain control knob, a clip indicator, and a headphone output with a dedicated volume control. These features simplify monitoring and help avoid distortion during recording. Some interfaces also offer direct monitoring, which allows the performer to hear their input without latency—an important consideration for vocalists or instrumentalists who rely on real-time feedback.
USB is the most common connection standard for home interfaces, and it works reliably with both Windows and macOS systems. A few interfaces also offer USB-C connectivity, which can be faster and more stable on modern computers. Before purchasing, it is advisable to check the manufacturer’s system requirements and compatibility with the computer’s operating system. Many companies provide driver updates that improve stability, so visiting the support page of the interface brand can be a useful step.
Exploring Free Digital Audio Workstations and Software
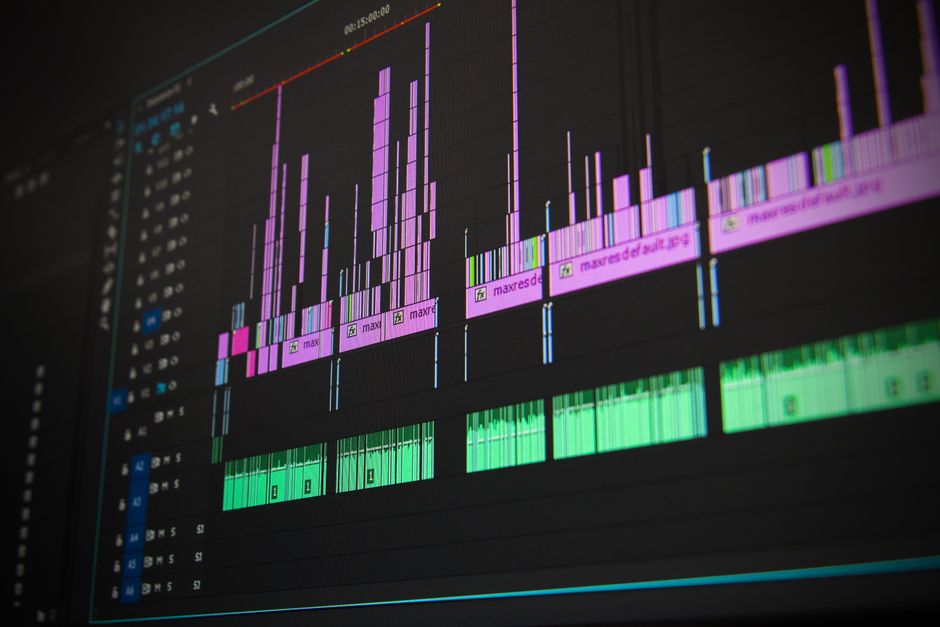
The recording software, often called a digital audio workstation (DAW), is the central hub for recording, editing, and mixing audio. Fortunately, several capable DAWs are available at no cost. Audacity is a widely used open-source editor that supports multi-track recording and basic editing, though its workflow is more oriented toward file-based editing than traditional DAW sequencing. For those seeking a more modern DAW experience, Cakewalk by BandLab offers a full-featured sequencer with unlimited audio and MIDI tracks, and it is free for Windows users. GarageBand is another option for macOS users, providing a polished interface, virtual instruments, and a variety of built-in effects.
Beyond DAWs, there are also free virtual instrument plugins and effect processors that can expand the sonic palette without additional expense. Plugin formats such as VST and AU are supported by many free DAWs, and a large community of developers offers high-quality audio plugins at no cost. Some of these plugins include reverb, delay, equalizers, and compressors that can be useful during mixing. However, it is important to verify compatibility with the chosen DAW, as not all free software works seamlessly across every platform.
Learning to use a DAW effectively takes time, but many free resources are available online. Tutorials, user forums, and official documentation can help beginners understand basic operations such as setting up tracks, arming for recording, adjusting levels, and exporting an audio file. Taking a gradual approach—starting with simple recordings and gradually exploring editing features—can help build confidence without feeling overwhelmed.
Setting Up a Simple Recording Environment
Room acoustics play a significant role in the quality of home recordings, but addressing them does not have to be expensive. Even small changes can reduce unwanted reflections and background noise. Placing a microphone away from walls and corners can minimize low-frequency buildup. Using soft furnishings such as blankets, pillows, or a movable wardrobe rack with clothes can serve as improvised absorbers. For vocal recordings, a portable isolation shield placed behind the microphone can reduce reflections from the immediate surroundings, though these shields are not a substitute for proper room treatment.
Another aspect of the recording environment is the positioning of the performer relative to the microphone. Experimenting with distance and angle can significantly affect the captured tone. For example, recording a vocalist at a distance of six to twelve inches often provides a balanced sound with some room ambience, while closer placement emphasizes proximity effect and may result in a warmer, bass-heavy tone. Recording a guitar amplifier or acoustic instrument similarly benefits from trying different microphone placements and listening back to compare results.
Monitoring is also part of the recording environment. While high-end studio monitors are expensive, many home recordists begin with a pair of decent headphones. Closed-back headphones are preferable during tracking to prevent sound leakage into the microphone, while open-back headphones may offer a more natural sound for mixing. Controlling the playback volume and taking breaks to rest the ears can help maintain objective listening during longer sessions.
Approaching the Demo Recording Process
Once the gear is assembled and the room is arranged, the actual recording process begins with a few preparatory steps. Setting appropriate input levels is crucial: the goal is to record a strong signal without clipping. Most interfaces and DAWs display a level meter; aiming for peaks that hover around -6 dB to -3 dB leaves headroom for unexpected loud passages while keeping noise low. It is often better to record at a moderate level and adjust gain during mixing than to risk distortion from an overly hot signal.
Recording multiple takes is a common practice in demo production. Having several versions of a part allows for comping, or selecting the best portions from each take to assemble a final performance. This approach does not require advanced editing skills and can be done with basic DAW tools. Similarly, recording scratch tracks—rough versions of one part to guide later overdubs—can help structure the arrangement without worrying about perfection in the initial pass.
Mixing a demo should not be approached with the same expectations as a commercial release. Simple adjustments like balancing levels, using a low-cut filter to remove rumble, and applying light compression can improve clarity without complex processing. The focus should remain on capturing the essence of the song rather than achieving polished production. With practice, the entire workflow from setup to final export becomes more efficient, and each recording session provides insight for refining the process.
Songcraft Studio recognizes that the path to home recording is built on experimentation and gradual learning. The combination of thoughtful gear selection, free software, and a practical mindset can enable anyone to create meaningful demo recordings, regardless of budget constraints. The resources available today make it easier than ever to begin, and the most important step is simply to start recording.